
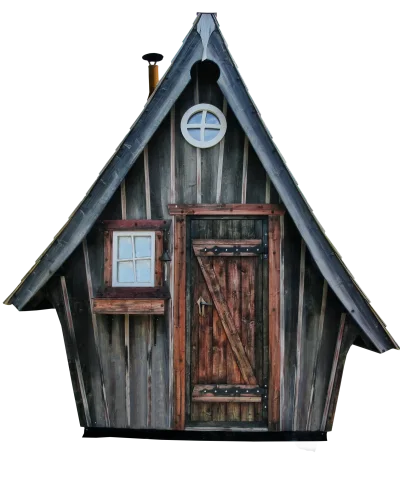
 It’s been months now, and that dilapidated shed in your backyard continues to be nothing less than an eyesore. Time to get rid of it, right?
Well, slow down a second. Not only are there multiple ways to remove a shed, but there are also ways to do so incorrectly that could result in legal trouble! So how do you know which removal method to use?
Well, that’s where we come in. It’s time to take a look at our definitive guide to everything you need to know about shed removal! Before you get hammering away though, you’ll need to get through some prep work first…
Preparation for Shed Removal
First off, check to see whether or not your city of residence will require you to get a permit to tear down your shed before you get to work. Most cities require permits for demolition of any kind related to your house, but the law does vary by city.
Make sure to not skip this step either. If the city catches you without a permit, you’ll have to cough up some serious cash for penalty fees. In some cases, the city will also restrict your demolition efforts and make it a violation to do any more work on taking down your shed.
Once you’ve got your permit permissions worked out, it’s time to figure out how much the project’s going to cost. One of the primary factors in this is the location: the wealthier the area is where the shed’s installed, the more it’ll cost to remove it.
The health of the shed is also something to consider. A broken-down shed is easier to dismantle but can prove more dangerous, ratcheting costs up if you want to hire someone to remove it for you. On the other hand, an intact shed is safer but more difficult to dismantle, requiring more time and money.
Think about what material your shed’s made of. Demolishing a shed made of wood is much easier than destroying a metal shed, for example.
Final Preparations
Finally, consider what your shed’s built on top of or what’s connected to it. You don’t want to begin demolition only to find out you’ve damaged an electrical main located right under your shed.
Once the cost comes into view, start assembling your tools. Make sure this includes safety gear like gloves and protective goggles. Otherwise, pieces of the shed could splinter out and seriously injure you.
Shed Deconstruction
Before you start taking the shed down, make sure to remove everything stored inside it. Donating shed contents like un-used wood is a great alternative to throwing it out, and any dangerous items like propane tanks require special disposal methods like specialized recyclers to prevent injury.
After that, you can start removing the roof. To save time, use an old saw to carve out chunks of the roof. Make sure it’s a saw you’re not attached to though, as the tar holding the shingles together will damage the saw blade.
If you do want to take it piece by piece though, you can use a crowbar to pry the shingles off. After that, take out the underlayer and rafters sitting underneath. For those with metal roofs without shingles, unscrew the bolts connecting the roof to the rest of the shed and rip out the rafters like you would with a shingled roof.
Once the roof’s gone, you can start removing the doors and windows. This helps reduce your chance of injury and releases pressure on the walls, making them easier to remove later. Doors should only need a screwdriver to remove (pop out the bolts, remove the hinge, take the door out) but windows will need you to destroy any caulking then slowly chip the window out until you can remove it wholesale.
The Destruction Keeps Coming
Once that’s done, shift your attention to the walls of the shed. You’ll want to start with the door-side wall, as it has the least structural integrity of the 4 walls now that you cut the door out.
Keep in mind that for every wall you remove, the others get less stable. Enlisting a friend or family member to spot the wall for you while you work will help a lot here.
After that, find the corner points of the shed and cut out the siding around them. This should allow you to push the wall over as opposed to sawing your way through it for days on end. It’s a smart idea to sever any connection the walls have with the floor before you push too to prevent any snags.
Once the walls are down, carve up what’s remaining of both the shed frame and the floor. With wooden floors, you can dig out the floorboards, then hack out what remains. For metal or concrete floors, it’s best to either leave them be and reuse them later or try to dig around them to lift them out.
Call the Professionals
If tearing down your shed without help seems like too much hassle, you can always contract a removal company to do the work for you. For example, we can lift your shed onto a platform and take it away to dispose of it in an eco-friendly manner. This reduces the mess that comes from shed demolition and saves you the trouble of hacking it down.
If you still want to do that part though, we also offer junk hauling services to take all the waste produced from your project off your hands. Intermittent pickups are also available if you are planning this project to take a long time, or you want to do it in small chunks.
Moving Forward From Here
And that’s all there is to it! Now that you have this guide to everything you need to know about shed removal, you’re ready to get started on your removal project today! And if you need professional help to get that shed cleared out, don’t be afraid to contact us and let us know how we can help!